Generally speaking, I’ve never been a huge fan of hot sauce. While I’ve partaken in a shake or two of some of the more established hot sauce players in the game, I’m not exactly a chilihead.
Don’t get me wrong – I love spicy. Eating a fat, charred jalapeño or taking down some serious Szechuan pepper ladened Asian cuisine can be downright euphoric. That song “I Can’t Feel My Face” comes to mind. Lips numb, tongue seemingly engulfed in flames fueled by capsaicin. It’s a beautiful thing. But, on the regular? I’m more of a spicy salsa girl.
I mean, how else am I supposed to eat my glorious breakfast tacos? I need salsa verde, salsa picante, salsa roja – things I not only associate with spiciness but also bursts of charred tomato, roasted peppers, and the smokiness that comes from toasted cumin or roasted garlic – flavor! For me, hot sauce has always been all vinegar and very little depth of flavor.
That was until I met el Gringo Bandito. Querido mío. And, I have to admit. The encounter has changed my life.
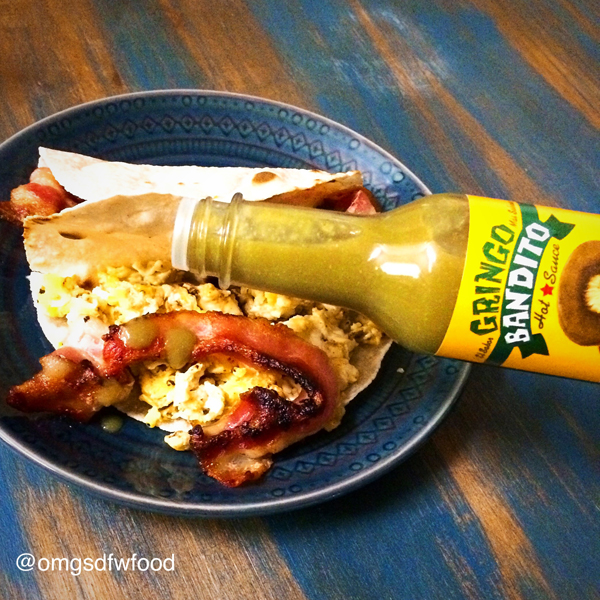
Armed with three options, Original Red, Green, and Super Hot, I started out on my week-long adventure the only way I know how – the breakfast taco. Now, you might be thinking, “Hey! What about better choices, chica!?” Does this stuff fit into your mantra?
Read the label, vato loco. That was brownie point numero uno.
 Salsa verde is normally my go-to salsa for breakfast tacos; so, I decided to stick with the program and go for the Gringo Bandito Green Sauce first.
Immediately, I knew there was something different. I wasn’t picking up that tart smack you get with most hot sauce. What I was getting was spicy but garlicky – like in that “have mercy, I need another bite” garlicky way.
The Green Sauce is a combination of Habanero and Serrano peppers, spices, and wait for it… mojo! Dude! Wow.
This was the shiznit. Blew my mind – mostly because I was fully expecting a fight with the vinegar to find some flavor. Pero no. This was good. As Nacho Libre might say, “Reaaaally goood.”
Now, as you recall, I have an aversion to sad, little salads. However, in my efforts to make better choices, I am adding more greenery to my daily intake – reluctantly so (as demonstrated in this recent text from Bear) – but nevertheless leafy greens have made an appearance on my plate.
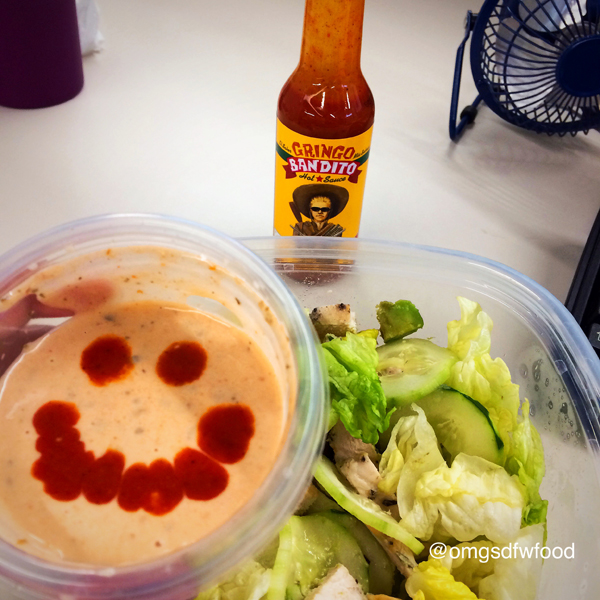
The other day, I took some leafy greens to work. And, as part of my efforts to avoid said sad, little salad, I dressed it up with chicken and avocado. While it was a valiant effort, I feared it still wasn’t going to help take me to my happy place. So, I decided to throw some Gringo Bandito Original Red Hot Sauce into the mix.
Of the three Gringo Bandito options I tried, this was the only one that listed white vinegar as the first ingredient. I was betting on a “salad + vinegar + oil = sad, little salad + chilies = happier salad” theory.
 I added a generous shake or two (or ten) to my salad dressing, and once again, I was pleasantly surprised! This time, the Original Red was giving me a chile colorado vibe.
The Red Japanese Chili Peppers in the Original Red reminded me of that awesome lingering burn you feel when eating a bowl full of chile colorado just before having a sip of beer to wash it down. The addition of the Original Red took me to that happy place as I sat in the office, much like the chile colorado moment but sadly, with no beer to wash down the leafy greens.
I do have to mention, the Original Red definitely was the most vinegar-forward of the three options, but it also was nowhere near the toxic tartness levels most of the hot sauces out there embrace wholeheartedly. Gringo Bandito Original Red Hot Sauce definitely showcases an original, focused effort on getting all the heat and all the flavor out of their carefully selected pepper combinations without drowning it in acid.
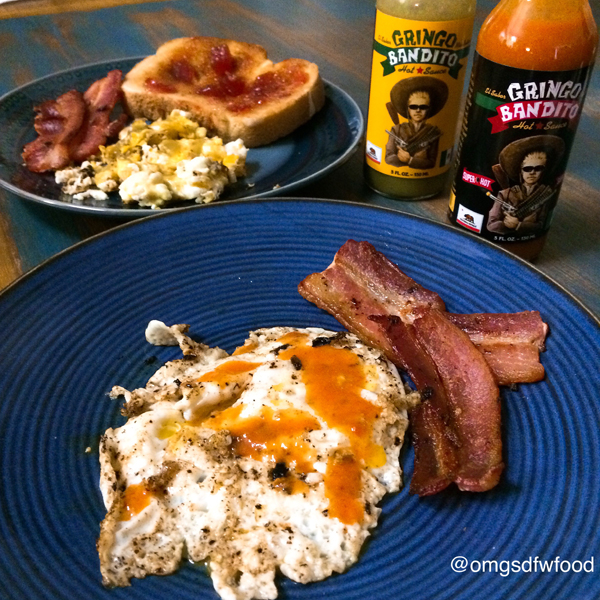
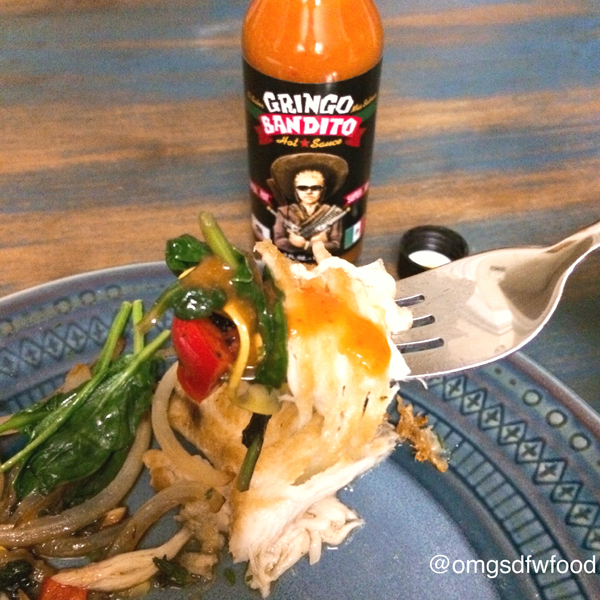
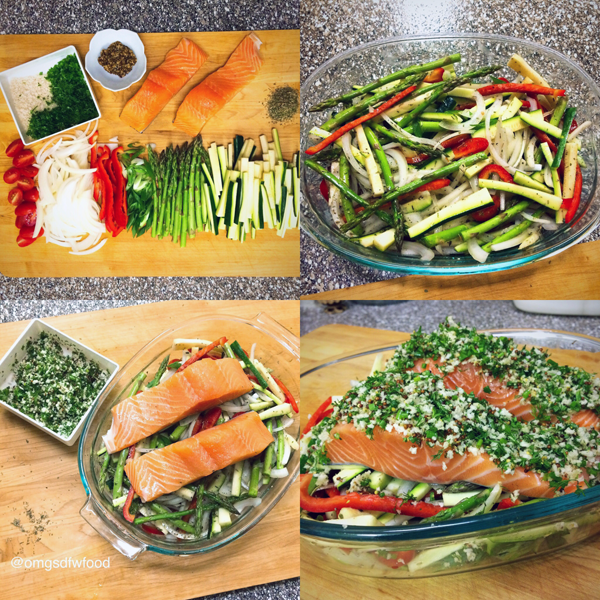
 One of the nights this week, I made pan-seared skate wing with sauteed spinach and yellow squash. While beautifully balanced, healthy, and delicately seasoned, I couldn’t help but stare at the third bottle of Gringo Bandito sitting on the table with us, Super Hot, and wondering, “What if?”
This bad boy has Scorpion Chili Peppers!
AND Jolokia Chili Peppers! (aka Ghost Peppers! Cucuy!)
Would the skate wing melt away like that dude’s face in Indiana Jones Raiders of the Lost Ark?
Would my fork survive?
Would the yellow squash shrivel up and turn into ash upon contact with Gringo Bandito Super Hot?
I had to find out!
 It. Was. Amazing.
While, yes, my lips and tongue were not particularly pleased I had gone from delicate, flaky, lightly seasoned fish to FIRE IN THE PIE HOLE, it wasn’t so much about the heat. Not even Super Hot heat. I was getting the background – the onions, garlic, and additional spices that most hot sauces lack. It was hot enough to make me uncomfortable but not so hot that I couldn’t taste the fact that it hadn’t taken anything away from the skate wing; it had actually elevated it.
The whole purpose of Gringo Bandito, I discovered, isn’t to just add a dash of spicy vinegar to your plate but for Gringo Bandito to simply and artfully craft a layer of complexity that harnesses the beauty of heat without torching the natural essence of the actual chili flavor.
The more I tasted Gringo Bandito hot sauces, the more it started to change my view on hot sauce, overall and especially as an ingredient.
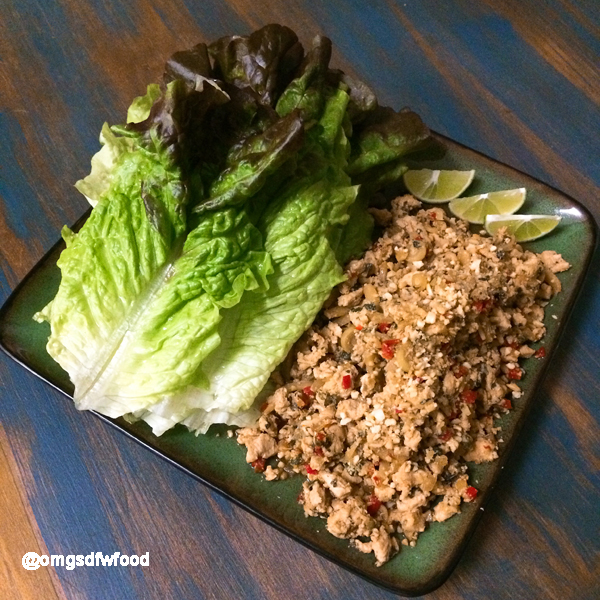
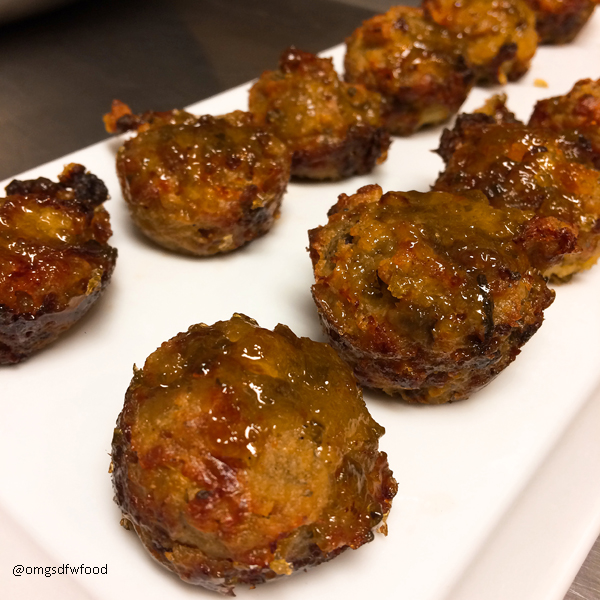
In making better choices, having flavor bomb options like Gringo Bandito that don’t bomb your better choices lifestyle is key! I need flavor punches without punching holes in my progress (17 pounds gone so far). Ultimately, this was the point that sealed the romance between me and my Gringo Bandito. It rocked my world so much that I even created a clean-eating, under-250-calories-per-healthy-serving recipe featuring Gringo Bandito Original Red Hot Sauce: Mexican Turkey Meatloaf.
Ingredients:
16oz 93% Lean Ground Turkey
1/2 Medium Yellow Onion, diced
1 Yellow Squash, diced
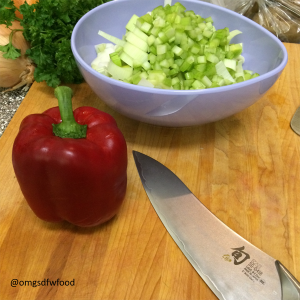
1 Red Bell Pepper, diced
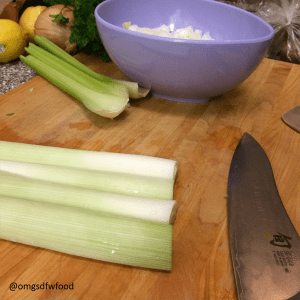
2 Celery Stalks, diced
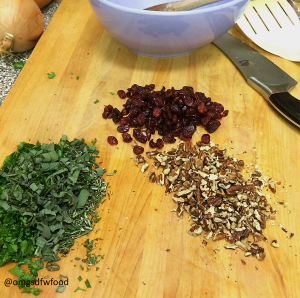
1 TBS Cilantro, finely chopped
1 tsp Ground Cumin
1 tsp Garlic Powder
1 tsp Onion Powder
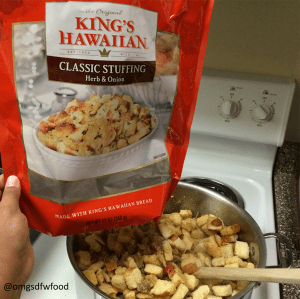
12 Herb Seasoned Croutons, crushed
1 TBS Knorr Tomato Bouillon With Chicken Flavor
5 TBS Tomato Paste
1 Large Brown Egg
2 TBS Gringo Bandito Original Red Hot Sauce
1 Medium Avocado, sliced
Preheat oven to 375°.
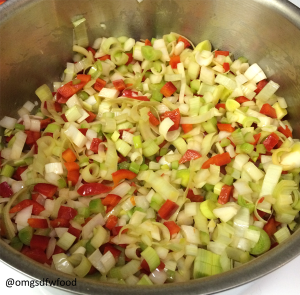
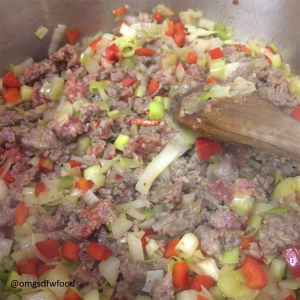
In a large sealable plastic storage bag, add the ground turkey. Set aside. Dice the onion, squash, bell pepper, and celery into small, similar sizes to ensure even cooking.
Add the diced vegetables, cilantro, cumin, garlic and onion powder to a skillet on medium-high. Cook until the onions and celery begin to become translucent. Season very lightly with salt, as you will be using bouillon later that will contain salt. Remove from heat and allow to cool thoroughly.
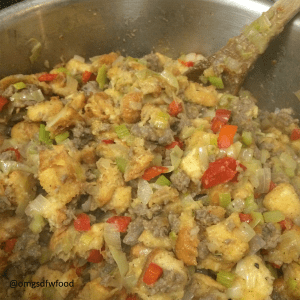
Once the cooked vegetables are completely cooled, add the vegetables into the plastic storage bag with the ground turkey. Do not add warm vegetables to the raw turkey for food safety reasons. To the bag, add the tomato paste, egg, crushed croutons, bouillon, and Gringo Bandito Original Red Hot Sauce.
Seal the bag and massage the bag until all ingredients are incorporated thoroughly. Place the contents of the bag into a loaf pan and smooth out evenly with a spoon.
To the top of the meatloaf, add several more dashes of Gringo Bandito Original Red Hot Sauce. Bake at 375° for 25-30 minutes or until the temperature reads 165° when inserted into the center part of the meatloaf.
Once the meatloaf is cooked through, top it with the sliced avocado and additional dashes of Gringo Bandito Original Hot Sauce for an extra kick! Serve with roasted sweet potato.
Yields 4 servings at 249 calories per serving.
It’s no joke. You need a Gringo Bandito in your life.
#sponsored
http://gringobandito.com/
Facebook: @gringobanditohotsauce
Twitter: @gringobhotsauce
Contact: ese@gringobandito.com
LET’S KEEP IT REAL: First and foremost, I do everything for the love of food. Most of what I write about is because I love it! If I don’t love it, I tell you about that, too. From time to time, I may receive monetary or product compensation for mentioning products, offering recommendations, providing endorsements, or including links to products or services when I blog. While that may be the case for some posts, it is not the case for all. When it’s sponsored, you’ll see #sponsored when I post. When I’m just sharing the love, I won’t use that particular tag or hashtag. What you need to know is that I only give shout outs when I actually use the product or love it so much it deserves a shout out, sponsored or not.


